
Concrete Crack Repair Epoxy Kits & Ports | CBGSourcing™
Built for DIYers. Trusted by Pros. Featuring Polygem epoxy injection systems, complete concrete crack repair kits, injection ports, and accessories for foundations, basements, pool decks, patios, and more.
Scroll for Products
CBGSourcing Polygem Epoxy System Mixing Bundle for Concrete Repair 2-Part Epoxy or Adhesive Projects
CBGSourcing Polygem Epoxy System Mixing Bundle for Concrete Repair 2-Part Epoxy or Adhesive Projects
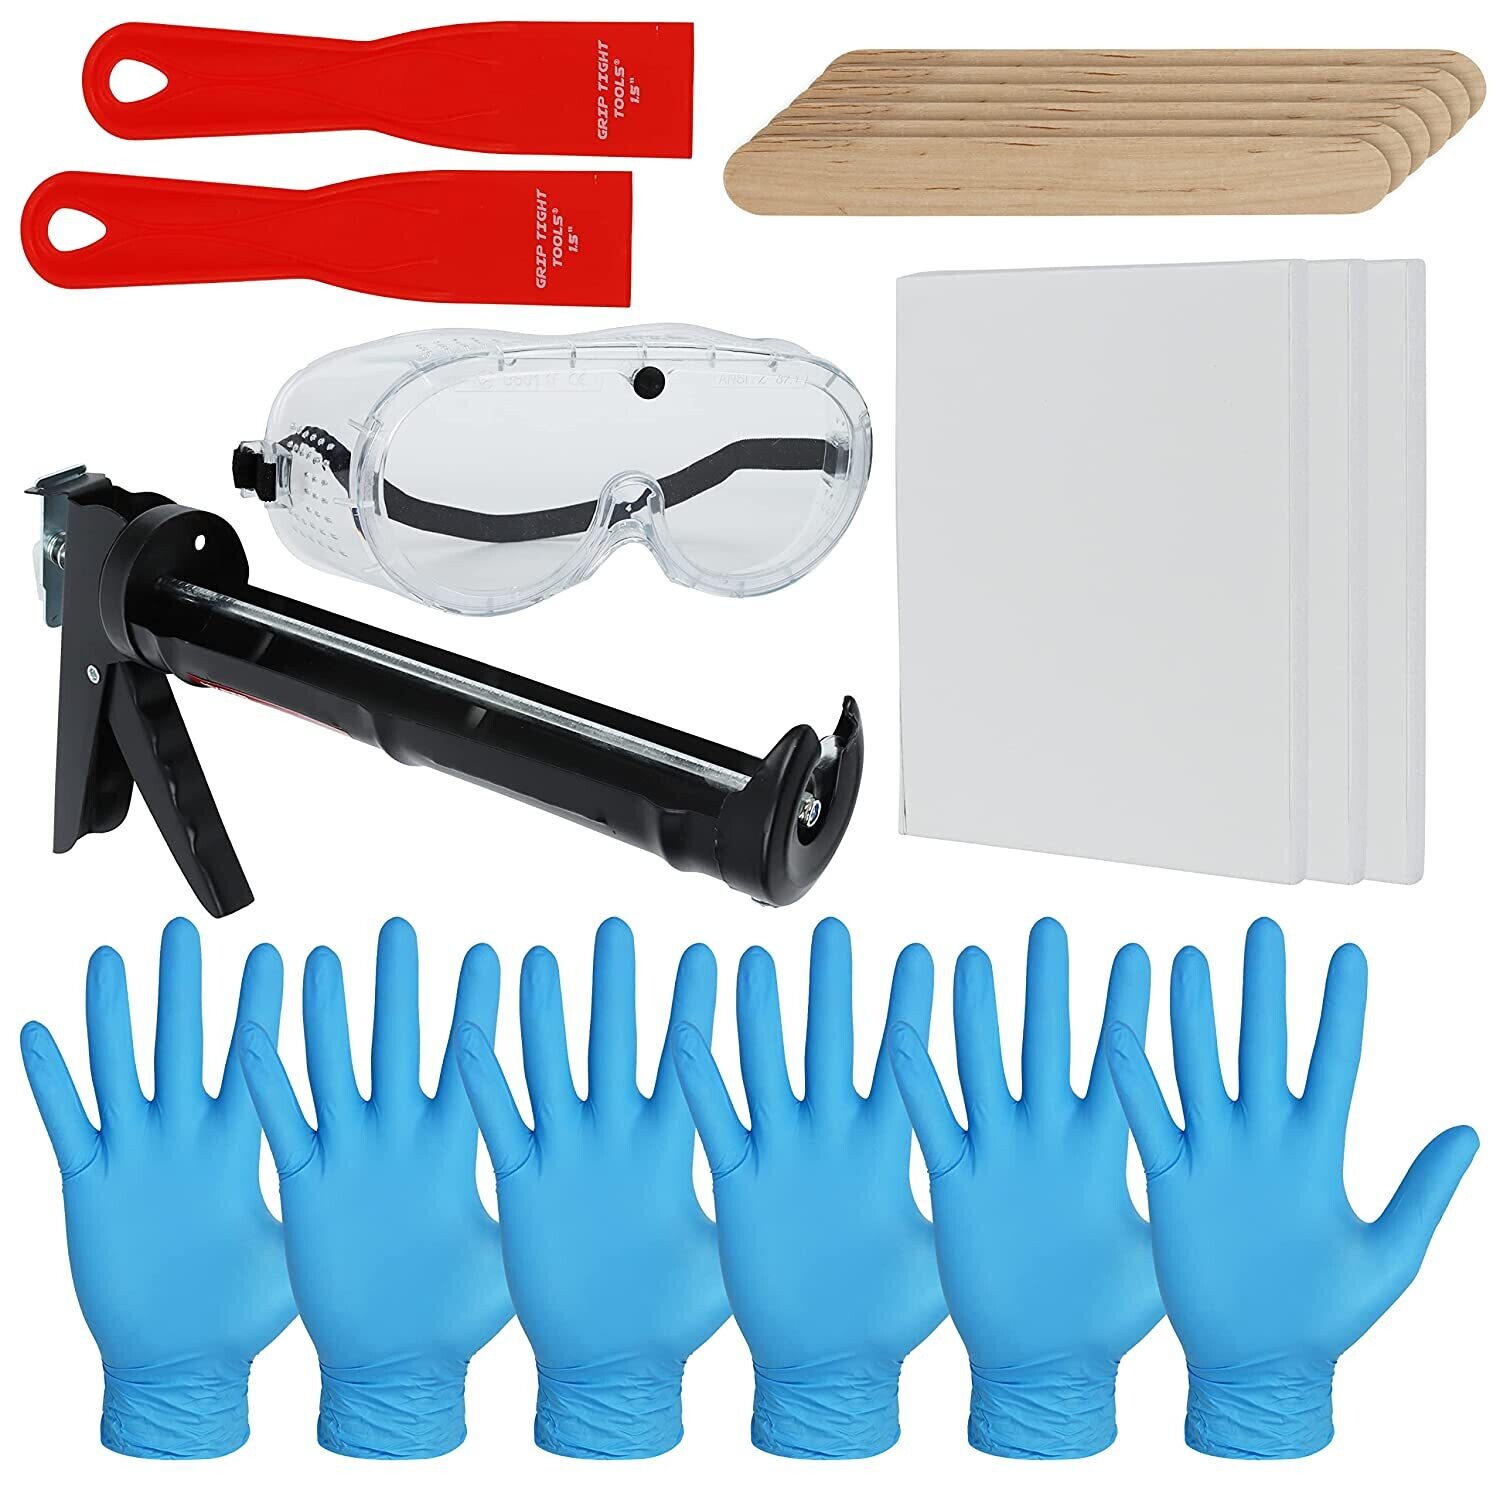
This complete kit includes everything you need to safely and effectively mix, apply, and clean up after 2-part epoxy systems. The kit includes:
- 3 pairs of large nitrile gloves
- 1 set of safety goggles
- 2 putty knives, 1.5" - 1 for Part A, 1 for Part B
- 6 wooden mixing sticks for blending A&B
- 3 foam core mixing boards - sturdy handheld for mixing/blending - d
- 1 standard-sized manual caulking gun - reusable
- 1 stiff wire brush for concrete surface cleaning - rugged and reusable
The gloves and goggles will protect you from the epoxy resin, while the spatulas, mixing sticks, and mixing boards will help you mix the epoxy evenly and apply it smoothly. The caulking gun can be used to dispense epoxy into cracks or holes, or to apply adhesive to surfaces.
Perfect For:
- DIY concrete repair projects
- Filling cracks and holes
- Bonding wood, metal, and other materials
- Creating custom molds and castings
- Repairing fiberglass
- Making jewelry and other crafts
With this kit, you have everything you need to get the job done right.
Michael J Nilles - "Stops leaks! Easy to follow directions. Used this many times for different friends repairs. Never failed."
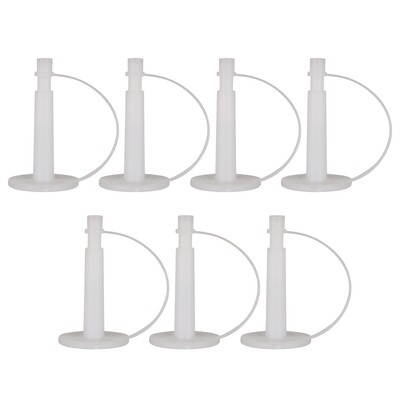
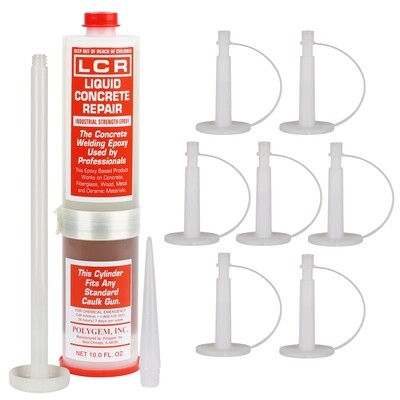
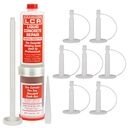
Alexkuzh - "easy to use - I repaired wide cracks, length 10ft width up to 1\8. Two cans of resin were enough to seal, but I had to buy 3 bottles of liquid resin and 7 plastic injectors, because the crack was deep and long. Very easy to use. Saved a lot of money. I solved my problem. Thank you."
Ken Enneking - "
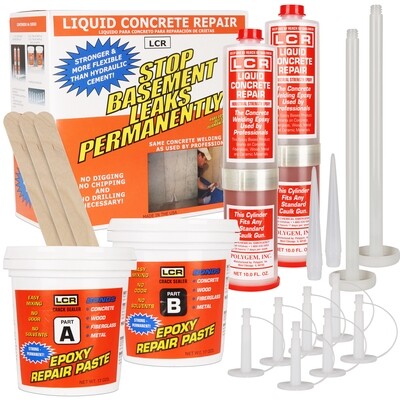
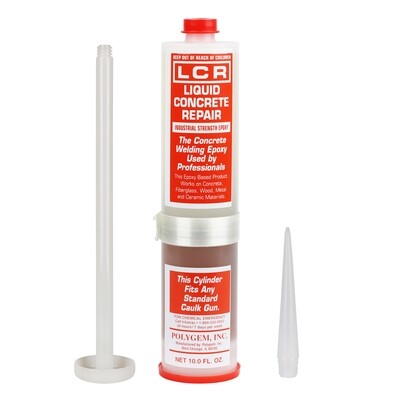
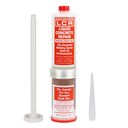
I did a lot of research before I chose this brand. It is easy to work with. The best feature is that they include the 2 parts of the epoxy in the one tube and you never have to touch the epoxy that goes into the wall. The grey epoxy that you mix to put on the wall surface, comes with far more than needed. I was able to glue 16 feet worth of crack with one kit. By the 2nd repair I was getting complements saying I was a pro."
R.E. - GREAT PRODUCTS!
thomas c - "Great product - Easy to apply and great coverage."
Maria A . - "This product goes on thicker - Whether small or large cracks, this mixture of A & B works well. It is thicker but still goes on cement walls, floors indoors or outdoors area of concrete. Heads up! This product is not made to pour as some products do."
Customer - "It worked as expected - I have a system for fixing cracks in basement walls. I have more solution than the epoxy that comes with the kit. The company did not sell the epoxy by itself. So, I looked online for something that would do the same job. It did not cure as fast, but it worked perfectly. Just wait a day before filling the cracks through the nipples."
Allen Crossley - "Good injection system - Follow directions, I used their instruction video, and all worked out well."
The Beetle - "Came quick - ready to roll! - Grab some for that special project!"
ed - "Works as expected - I ordered this to apply on a 1/4" crack on the exposed foundation in my garage. The crack runs through the entire wall which is about 1' high. I covered the rear of the wall with cardboard so that the epoxy would not leak out the back. I inserted 3 of the injection ports into the crack and covered the rest with cardboard. Using my caulking gun I injected the epoxy mix into the ports starting from the bottom port. The smell from this is pretty strong so I had a fan blowing air across my work area. I let this sit for a couple days before removing the carboard. The epoxy worked in filling the crack and feels solid."
Judy - "This works great! - We applied this to a crack in our basement. It is the best thing we have found for sealing a crack in a wall. Would definitely recommend this for problem in basement wall!"
PSC - "worked great - Worked great would purchase again."
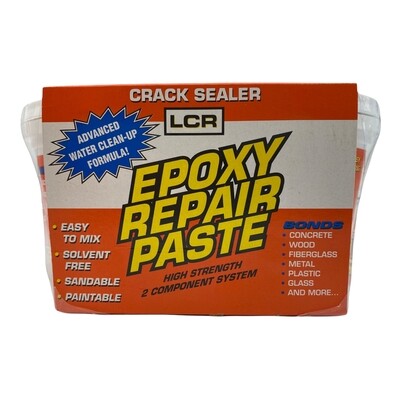
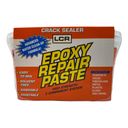
JT - "I followed up a few days later with LCR Epoxy Repair Paste applied around all the lines and in the cracks. This thick epoxy paste should block the rising water. It is a very thick, grey 2-part epoxy paste. It can be smoothed out with a finger or tool dampened with water. Tools can be cleaned with water if done before the epoxy cures. It also has a chemical smell which is not nearly as strong as the clear epoxy from the tube."
About Us

Phil Collins
President
CBGSourcing is the online shopping site of Claremont-Branan Group, LLC, a Veteran-Owned Small Business based in the State of Georgia, USA.
Our team identifies, researches, and brings innovative, superior-quality products to our customers.
Why we are here...
We are here because we want to share these products, from wherever we find them, with you.
Why you should care...
Missing in today's COVID world are the human connections we all thrive upon. Whether virtual, or face-to-face, as our customer, you are a member of our family and we will always strive to satisfy you.
